How I Created My Own Personal URL Shortener
![]() 6 min read
6 min read
At some point I wanted my own URL shortener. Mostly so I could control my links and not depend on third-party services for stuff like social profiles or sharing my CV. Cloudflare Workers turned out to be a perfect fit. It’s free, fast, and simple once you understand the basics.
This post walks through how I built a small personal URL shortener using Cloudflare Workers, KV, and R2.
Pre-requisites
Before setting up your URL shortener service, ensure you have the following things in place as i won’t be covering them here:
- A Cloudflare account
- A domain that’s already using Cloudflare
What are Cloudflare Workers?
Cloudflare Workers lets you run JavaScript or TypeScript at the edge, close to users, without managing servers. You write a simple fetch handler, deploy it, and Cloudflare handles the rest.
To create one, go to your Cloudflare dashboard and open Workers & Pages.
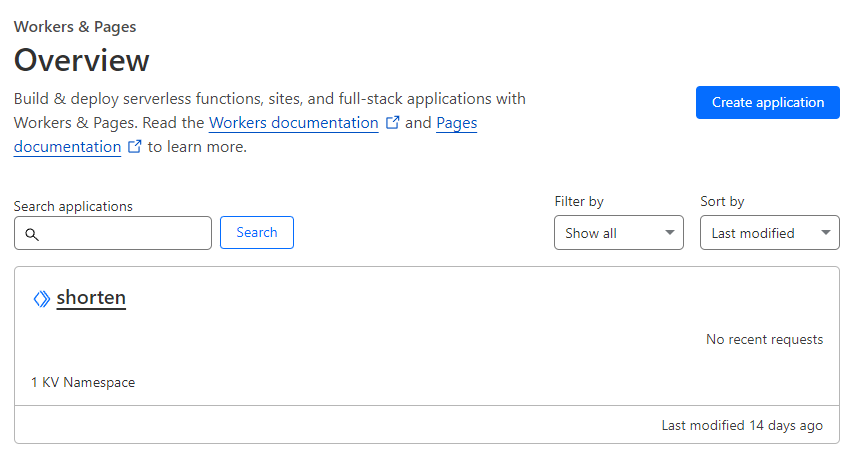
Click Create application, then Create a Worker, and give it a name. I called mine shorten, although url-shortener probably would’ve been clearer.
By default, the worker gets deployed to a workers.dev subdomain like:
shorten.<account-id>.workers.dev
You can attach a custom domain later, so for now, just deploy it and open the editor.
Storing data with Workers KV
Cloudflare also provides Workers KV, which is a globally distributed key-value store. It’s simple, fast, and good enough for things like short URL mappings.
You can create a KV namespace from the Workers KV tab in the dashboard. Just click Create namespace and give it a name.
Hosting files with R2
Cloudflare R2 is basically an object storage without egress fees. Personally i use my shortener for my social media links, but i also have some files hosted on it using R2. For example, i have my CV hosted on it, making it easier to share it with people.
To create a bucket, head to your Cloudflare dashboard and click on the R2 tab, and create a Buclet, which is basically a “folder”. Give it a name, set region to Automatic and click on Create Bucket.
You are now able to upload files to your bucket.
But keep in mind that in order to make the files publicly accessible, you need to set the bucket to public. To do that, click on the bucket you just created and click on the Settings tab. Then under Public access find “R2.dev subdomain” and hit Allow Access.

To access files on your bucket such as a file named CV.pdf you can use the Public R2.dev Bucket URL like this https://[bucket-url].r2.pages.dev/CV.pdf.
Putting everything together
I recommend working locally and deploying using the Wrangler CLI. First install it globally:
npm install -g wranglerLog in to Cloudflare:
wrangler loginInitialize a local project from your existing worker:
wrangler init --from-dash shortenFirst, we need to import the KV namespace into our worker. To do that, we need to get the KV namespace ID. You can find them in the Workers KV and R2 tabs in your Cloudflare dashboard. It is also possible to create these namespaces using the Wrangler CLI by running:
wrangler kv:namespace create NAMESPACEThis will create a KV namespace with the name NAMESPACE and return the ID.
Now open the wrangler.toml file and add the KV namespace ID to the kv_namespaces array. It should look something like this:
kv_namespaces = [
  { binding = "NAMESPACE", id = "INSERT_ID_HERE" }
]
You can now interact with KV from the CLI:
wrangler kv:key put --binding=NAMESPACE "<KEY>" "<VALUE>"Or through your worker code like this:
interface Env {
	YOUR_KV_NAMESPACE: KVNamespace;
}

let value = await env.YOUR_KV_NAMESPACE.put(key, value);
let value = await env.YOUR_KV_NAMESPACE.get("KEY");
This is where the short code maps to the full URL.
Worker code
Now we can start writing our worker code. I will be using TypeScript for this example, but you can use JavaScript if you want. The shortener will only be able to handle GET requests, so we will need to check for that. We will also need to get the path from the URL, which will be the shortened version of the URL. Then we can use the KV namespace to get the full URL and redirect the user to it.
export default {
  async fetch(request: Request, env: any): Promise<Response> {
    const url = new URL(request.url);
    const path = url.pathname.split('/')[1];

    if (request.method === "GET" && path) {
      const value = await env.shortener_ns.get(path);
      if (value === null) {
        return new Response("Value not found", { status: 404 });
      }
      return Response.redirect(value);
    }

    return new Response("Request method not supported", { status: 400 });
  },
};
Finally you can deploy your worker using:
wrangler deployUsing a custom domain
To use your own domain or subdomain, open the worker in the dashboard and go to Triggers. From there, you can attach any domain that’s already active on Cloudflare.
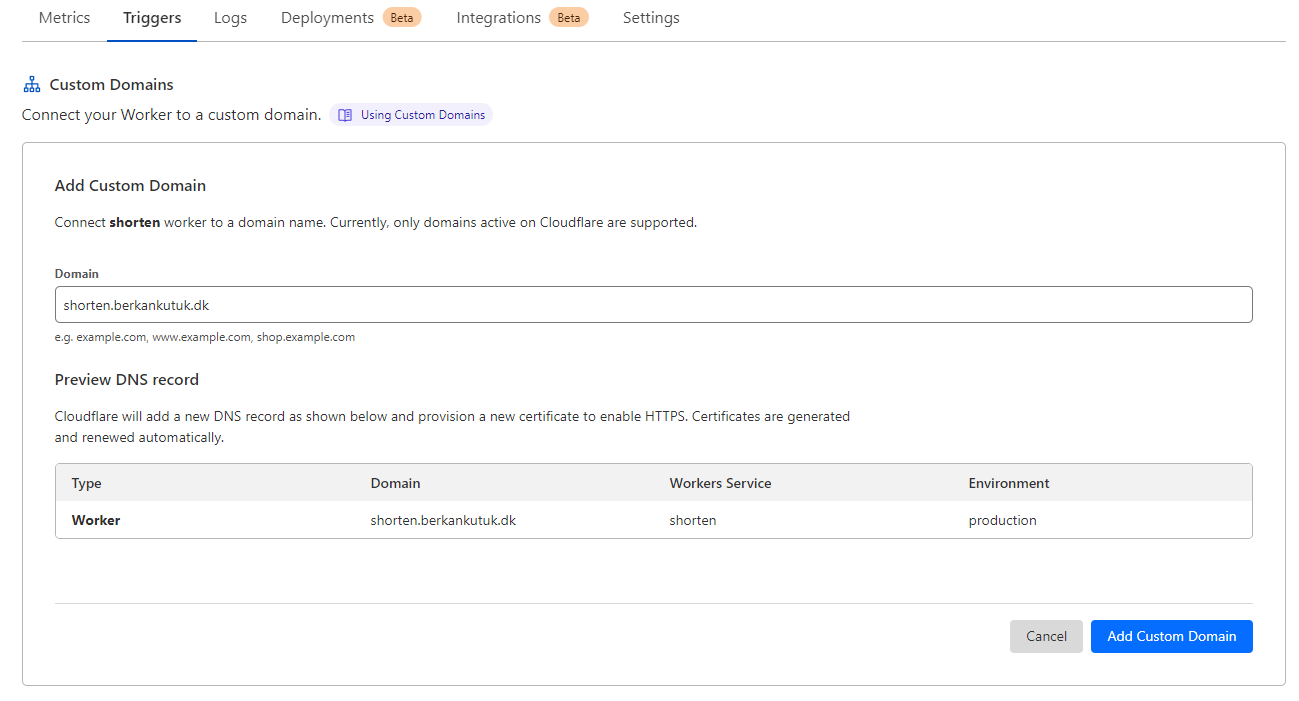
Once that’s set up, your short links work on your own domain.
Future improvements
The next steps from here is fully up to you. You can add a frontend to your worker to make it easier to use, or you can add a simple header-based auth system to prevent others from using your worker. With an auth system in place, you can also add a way to add custom URLs to your KV namespace or even remove existing ones.


Beyond programming, I enjoy sharing my journey and insights through writing, aiming to contribute to the tech community and inspire like-minded professionals.