Properly Cleaning and Reinstalling a Broken NPM on Windows
![]() 3 min read
3 min read
At some point, I completely broke my Node.js and npm setup on Windows. Commands stopped working, paths were weird, and reinstalling on top of it did absolutely nothing.
When npm gets messed up like this, the only real fix is to wipe everything and start fresh. This is what a proper clean reinstall looks like on Windows.
Uninstalling Node.js and npm
Uninstall Node.js from Programs & Features using the normal uninstaller.
Remove any shortcuts related to Node or npm from your desktop or taskbar.
Delete the following folders if they exist:
C:\Program Files (x86)\Nodejs
C:\Program Files\Nodejs
C:\Users\{User}\AppData\Roaming\npm
C:\Users\{User}\AppData\Roaming\npm-cache
C:\Users\{User}\.npmrc
Also check if .npmrc exists without the dot.
Open Environment Variables and remove any Node.js or npm entries from the
Path.Open Command Prompt and run:
where nodeIf it still shows any paths, delete those folders manually.
Reboot your computer. Don’t skip this.
Download Node.js again from the official site and install it.
Installing Node.js and npm
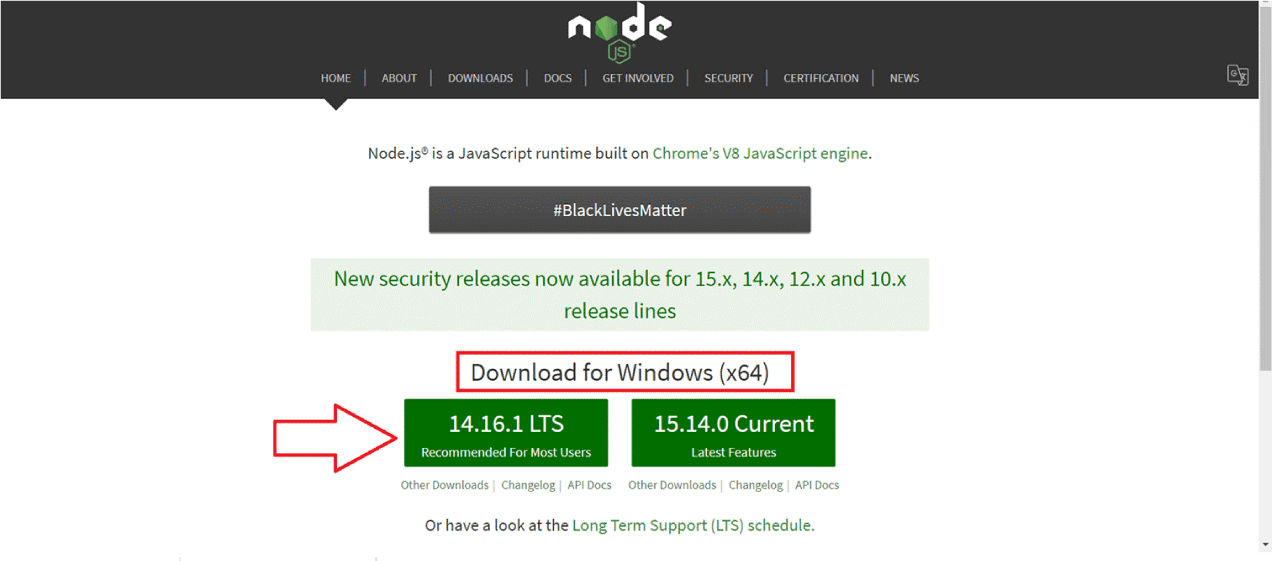
Download Node.js from the official site: https://nodejs.org/en/download/
Choose the 64-bit LTS version. LTS is the stable one and what you want unless you have a very specific reason not to.
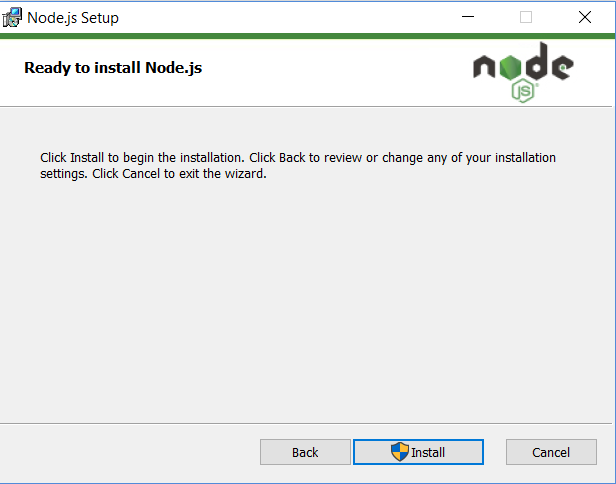
Once downloaded, open the installer.
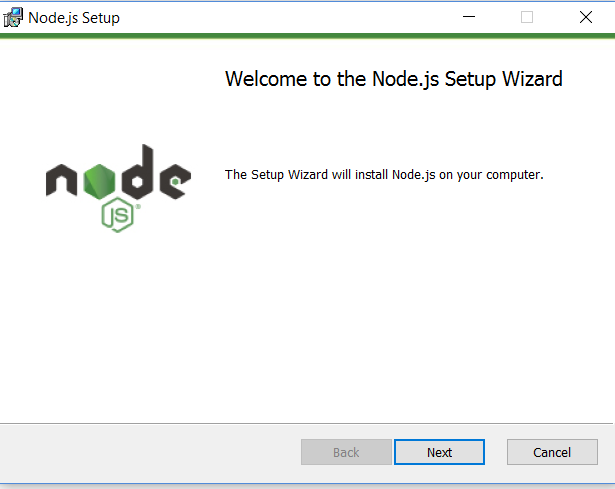
Click Next on the welcome screen.
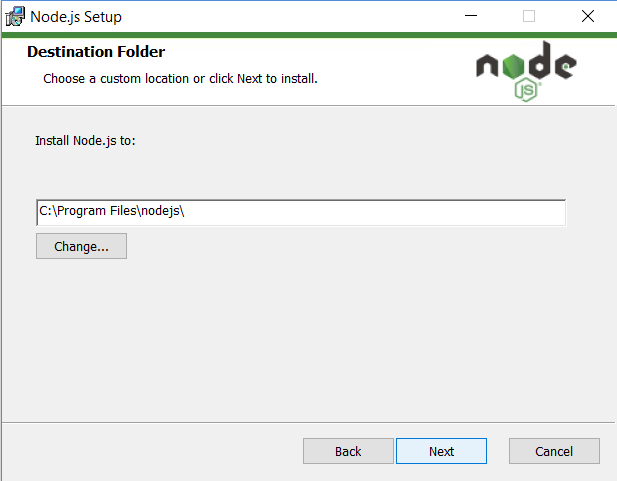
Choose the install location if you care. Default is fine for most people.
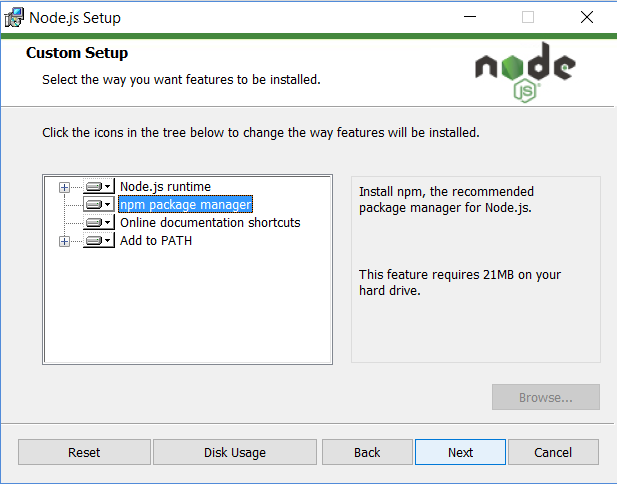
On the feature selection screen, make sure npm package manager is selected. The defaults are fine:
- Node.js runtime
- npm package manager
- Add to PATH
Click Install and let it finish.
Verify the install
Open Command Prompt and run:
node -vThen:
npm -vIf both return versions, you’re done.
This gives you a genuinely clean Node and npm setup without leftover paths, broken caches, or weird ghost installs. If npm ever goes completely off the rails on Windows again, this fixes it every time.

Beyond programming, I enjoy sharing my journey and insights through writing, aiming to contribute to the tech community and inspire like-minded professionals.